
What are the steps for using a video microscope?
What are the steps for using a video microscope?
A good video microscope is a scientific and reasonable combination of an industrial camera, a lens barrel, a light source, and a display. Video microscopes are typically used in the electronics industry for inspection of semiconductors and integrated circuit boards, as well as in teaching and agriculture. They can be flexibly equipped on the production line and workbench of semiconductors and integrated circuit boards. So what are the steps for using a video microscope? Let me introduce them to you.
The steps for using a video microscope are as follows:
1. First, prepare the major components of the video microscope. Assemble the gimbal first, and note that the lens and camera bracket should be at the bottom, and the bracket supporting the display should be placed on top for easy observation.
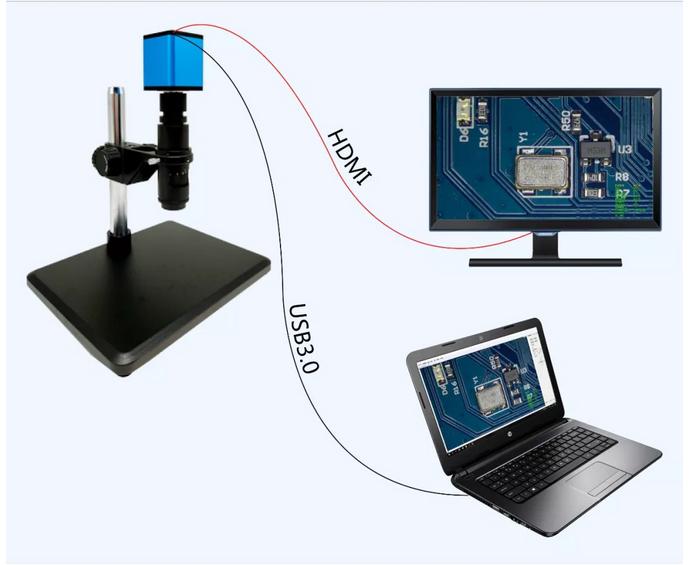
2. Install the lens on the gimbal, and fix it in the circle. The lens is relatively fragile, so be careful during installation. Then, install the camera on top of the lens and connect the interface diameter.
3. After the bracket and lens are installed, fix the display, connect some linking wires, and that's it.
The video microscope magnifies the image of an object and displays it on a monitor, making it possible to clearly see small items in the manufacturing industry, such as PCB circuit boards, hardware, plastics, and wires. Common types include video microscopes, electronic video microscopes, TV video microscopes, and coaxial light video microscopes.


